.png?width=180&height=67&name=Crank-AMETEK-HZ-Rev%20(4).png)


Here at Crank we were looking for new ways to create tests for our Designer and Runtime. In the past this consisted of creating hand edited gapp files to use along with our screen dump plugin to create a set of screen shots, which we would then compare to screen shots from past tests. However, editing those gapp files isn’t the best solution. So recently we started to create a new way to create these test gapp files within the Designer.
Basically we created a way for users to capture model changes within the Designer. The first step the user needs to do is create a Storyboard project and get to the point where they are ready to record the model changes. In my following example I created a basic application with a few controls with fill render extensions and one with an image.
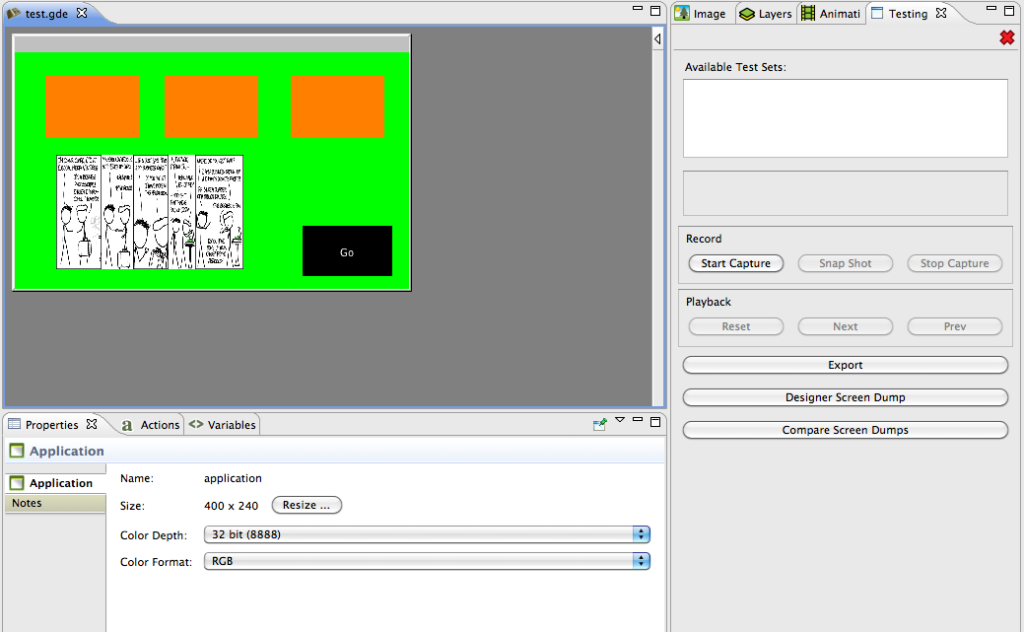
To start off the capture session the user needs to click the “Start Capture” button in the Testing view. This starts the capture session. The user can now make changes to the model. When the user clicks the “Snap Shot” button the Designer will determine the model changes since either the start of the session or the last time the “Snap Shot” button was pressed. Once the user is finished recording, they just have to click the “Stop Capture” button, choose a name, description, and file location for the model change file.
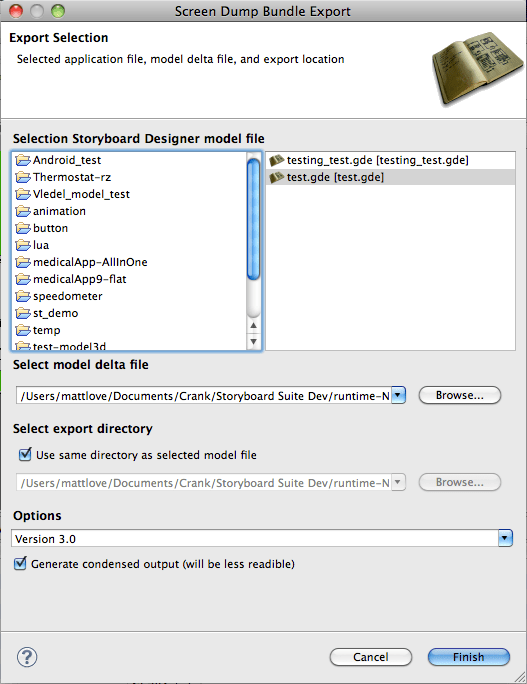
Now by clicking the “Export” button the user is able to select a Storyboard application along with a model change file to create a gapp file that can be used with the screen dump plugin to create a set of screen shots (one for each snap shot).
Thanks for reading.