.png?width=180&height=67&name=Crank-AMETEK-HZ-Rev%20(4).png)


When building an embedded Linux GUI application using Crank Storyboard, here are the configuration and environmental considerations to take into account.
In this blog and accompanying walk-through video, I detail the steps required to best prepare your embedded GUI for Linux deployment using Storyboard, specifically:
- Exporting your embedded Linux GUI application
- Configuring your embedded GUI application for Linux
- Connecting to your embedded GUI with a serial connection
- Knowing your embedded GUI application options
- Understanding your environment variables
- What is Wayland?
- Choosing your touch library for a Linux environment
- Executing the runtime for an embedded GUI on the target
- Running your embedded Linux GUI

Exporting your embedded Linux GUI application
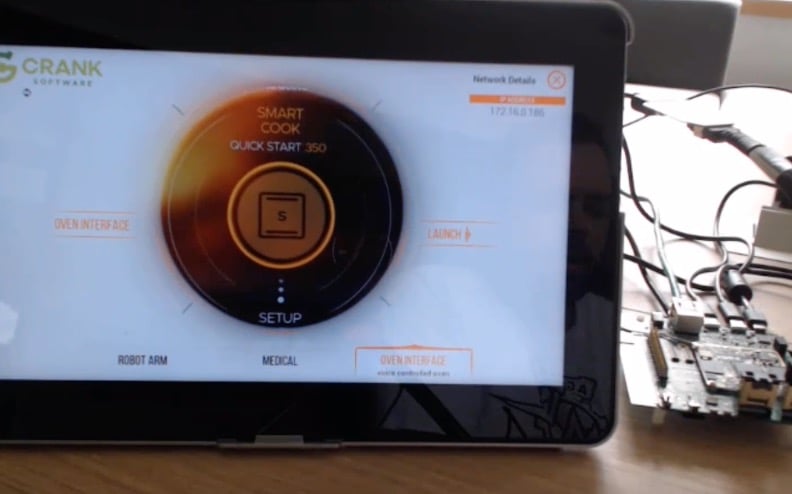
I used the NXP i.MX 8M Nano evaluation board so if you're looking to reproduce the steps that I’ll walk through here, I recommend downloading a sample Storyboard GUI demo image from our website that's appropriate to your hardware.
The first step to exporting your application for the embedded system is to decide on an export configuration. This is where you define the configurations for different platforms, such as when evaluating or deploying to a couple of different boards. The Storyboard Application Export Configuration button in the Storyboard toolbar allows you to pick and choose the assets to export, decide the format, and build multiple configurations.

Here, you can pick the assets to be exported. By default, Storyboard exports everything in our project but you can also include or exclude specific elements, select image optimization types, strip out unused font glyphs, and more using the Storyboard Resource Export Configuration Editor:
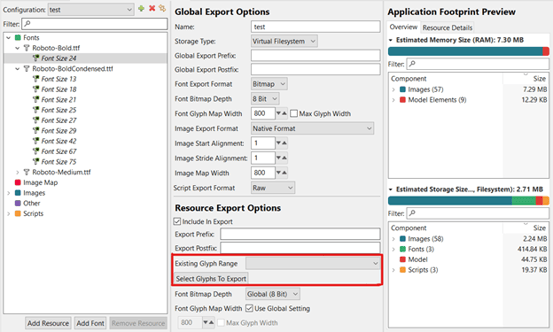
You can also use the editor to understand and fine tune application and memory size, based on what is included or excluded from the export. If you find images or fonts aren't showing up at runtime, you can cross reference the content in the left-hand pane above to what actually gets deployed to your embedded system.
When launching our embedded Linux GUI application on the desktop environment with the Simulate icon, we’re executing our runtime engine built against the desktop operating system, like Windows, macOS, or Linux. In this demonstration case, I’m using a Windows desktop with access to OpenGL acceleration and hardware.
Configuring your embedded GUI application for Linux
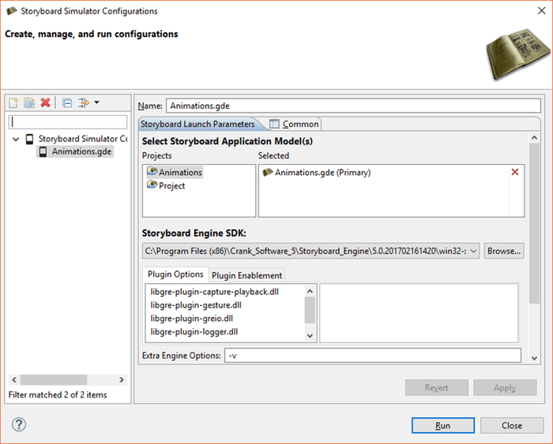
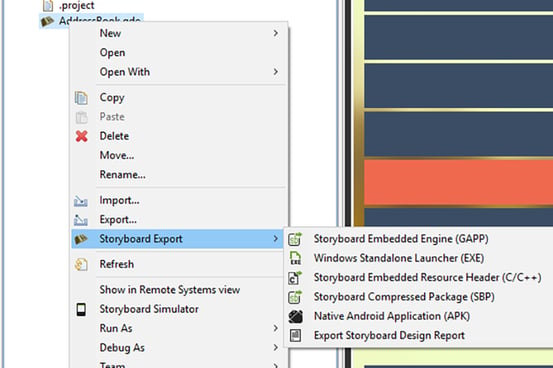
To run on actual hardware, we open up our Application Export Configurations Panel to set up how we're going to export and send the embedded GUI application to the target. The default packaging method is the Storyboard GAPP file format but there are other options including Android APK for Android and Storyboard Embedded Resource Header (C/C++) to export header files that can be compiled directly into the RTOS system image.
Connecting to your embedded GUI with a serial connection
To manually run your application, or execute a script after launch, the first thing to do is establish a connection to your embedded hardware.
Most boards these days will have a serial connection. If you have Ethernet, Storyboard gives you the option to do a SSH network connection which can be a little bit more usable. Each board has specifics around the baud rate and how they are exposed. You'll have to check the documentation around the surrounding hardware to understand what's going on in terms of the specifics but, in this case, for the NXP i.MX8, we have two comm ports.
If you have Ethernet, Storyboard gives you the option to do a SSH network connection which can be a little bit more usable.
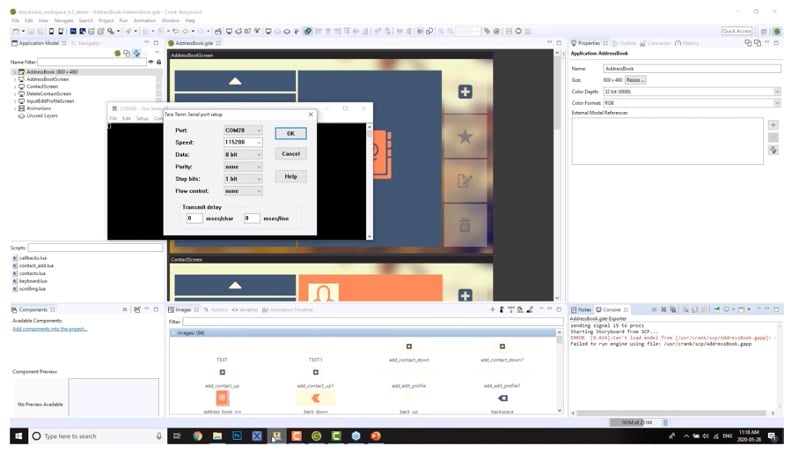
Our baud rate or speed is 115,200 which is pretty standard these days with eight bits data. Once we initiate the connection, the following things happen:
- We're greeted with a login prompt. The default login for most embedded boards is root. It might prompt you for a password which is likely root as well.
- Once we’re logged into the embedded hardware system, the first thing that I always like to do is run
ifconfig. That simply prints out the Ethernet information so we can confirm the IP address of the board matches what we see in the Storyboard application.
Knowing your embedded GUI application options
Once you're logged into the board, you can see what makes up the Storyboard application. Under /usr/crank, we keep all of our content and assets. By listing the contents of that directory, you can see we have an apps directory, a runtimes directory, and the storyboard_scp.sh launch script. This is what we use to remotely launch an application.
Understanding your environment variables
When you're looking to configure your board for an embedded Linux system, we export a few environment variables. The engine itself is looking for SB_PLUGINS which is going to give us the path to any of the Storyboard plugins, and the LD_LIBRARY path for related libraries.
When we run our application, we call the Storyboard engine under the /bin directory, sbengine, and pass in a series of options, like this:
sbengine [-i] [-v] [-o] [storyboard application]
You can get more detailed instructions on running sbengine here.
The /apps directory for every demo image contains subdirectories with other applications that you can play with too. Each one of these contains a Storyboard GAPP file and the Storyboard model file, GDE. If you wanted to re-import this application back into your design environment or send to other developers, you could copy these off the board using something like SCP, FTP, or a USB connection.
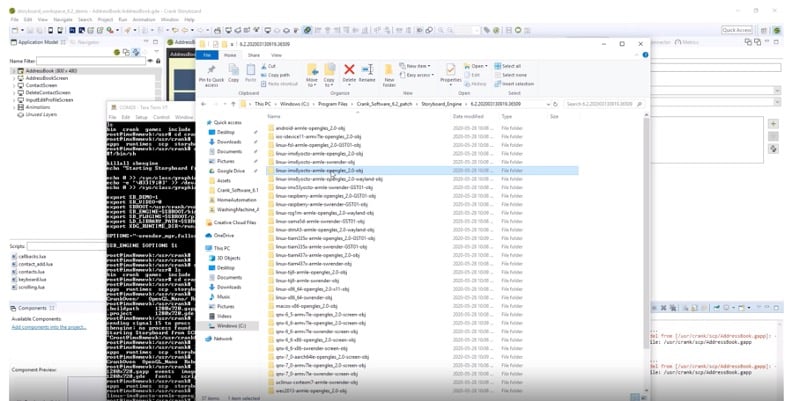
The other important directory is /runtimes, which contains all the necessary runtime object files. The name of this directory determines the configuration of the runtime and you can use that naming to help understand which one you want to use.
If you look at the Storyboard installation directory on the host, you’ll see that we ship with a large number of runtimes, and these are all built and configured for common evaluation boards out on the market. We also have a runtime that makes use of just the raw OpenGL interface.
What is Wayland?
Wayland is a screen managing stack. If you think of a desktop scenario where you have programs that are running in their own windows, Wayland is a system that helps you manage applications as their own screens and windows.
You could run multiple Storyboard applications in different windows on the target and use the Wayland system to build up some management functionality. Usually Wayland is run with a compositor, most common is the Weston compositor. There's a good chance that if you're on your target and start typing "weston", it'll auto-complete and show a bunch of other simple applications.
To test and understand if you're running Weston, try running the Weston-Flower app. If you see a nice little flower popping up on the display, drag it around. The configuration information for Weston is under the /etc directory.

If you’re running Weston, it does a lot of the work for you. It handles touch input and the display configuration. If you want to rotate the display, you can modify that config file and flip everything.
Selecting a touch library for a Linux environment
Depending on what system you're using and what configurations you're using, the Linux OS generally has two main touch libraries: tslib and mtdev. Traditionally, tslib was a single touch input and mtdev is multi-touch. Tslib has newer versions where it supports multi-touch, but out of the box, mtdev is usually easier to configure to get up and running. Of course, it always depends on what libraries are available on the system.
Here are two tricks to know what touch library you can use.
Trick #1: Increase verbosity
A good way to check for touch libraries without actually searching for them is to increase the verbosity of the Storyboard logging. If you increase the verbosity, it'll show the plugins that are loading. If any of them fail to load, you'll understand whether libraries are missing or not.
Through either the launch script or manually on the target, you adjust verbosity through the -v option for sbengine:
sbengine [-i] [-v] [-o] [storyboard application]
Adding four Vs increases the diagnostic output and each V adds another level. Once run, you can see whether tslib or mtdev are loaded or not.
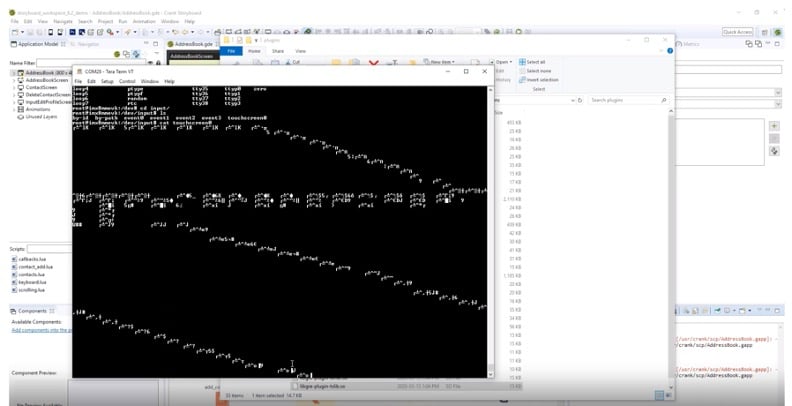
Trick #2: Cat the device
To understand which device is actually yours, there is a handy little trick where you just cat the device, running cat /event0 while touching the screen and see if any data prints out to the console:
To do this, all you need to do is add a parameter to the sbengine options:
sbengine -omtdev,device=/dev/input/touchscreen0 your_app.gapp
This is simply saying that this is a Storyboard plugin object with the name mtdev and the path to the device, /dev/input/touchscreen0. Read more about these commands here.
Executing the runtime for an embedded GUI on the target
Before running the GUI application, you should make sure your library path and Storyboard plugins environment variables are set properly, for example:
export SB_PLUGINS=/home/crank
export LD_LIBRARY_PATH=/lib
To run the app, jump into the /runtimes directory and run sbengine (along with any parameters).
Creating a launch script is also helpful to start building up different options. You could even be a little bit more creative and query for different devices to support different targets. Maybe it's a more generic one but that comes down to how you want to configure your shell script and depending on your comfort in bash scripting.
Using the Storyboard Launcher
The final thing you want to do once you're happy with your application is set up auto-boot. You don't necessarily want to jump onto the terminal every time you boot up your board and execute your script, or export the environment variables over and over.
We recommend using systemd to launch a service. There's a couple different ways you can do that. On some of the older Linux system configurations, the scripts are found under /etc/rc.d. You would find a directory like rc.0 through rc.6.
This Knowledge Base article explains how to set up auto-boot for Linux systems using systemd.
Verifying your embedded Linux GUI
To check the status of the service on your system, you can use the status command:
systemctl status storyboard_launcher.service
This will provide you with the service state, the cgroup hierarchy, and the first few log lines which can be useful to help debug if the application does not start as expected.
You can also just run systemctl and grep for "storyboard", to see that our services are running.
That brings me to the end of how to configure your embedded GUI system for your Crank Storyboard apps running on Linux. If you'd like to learn more about Storyboard on your Linux board, check out our videos in our Knowledge Base and detailed article in our Help Centre.