This is the fourth post in a series discussing the development of a home weather station using Storyboard as the embedded user interface.
In this post we’ll look at the user interface’s data bindings and we’ll start putting together a rough mock-up of those bindings using Storyboard Designer. Remember this is still without any decision on what hardware or operating system that will be used in the final product!
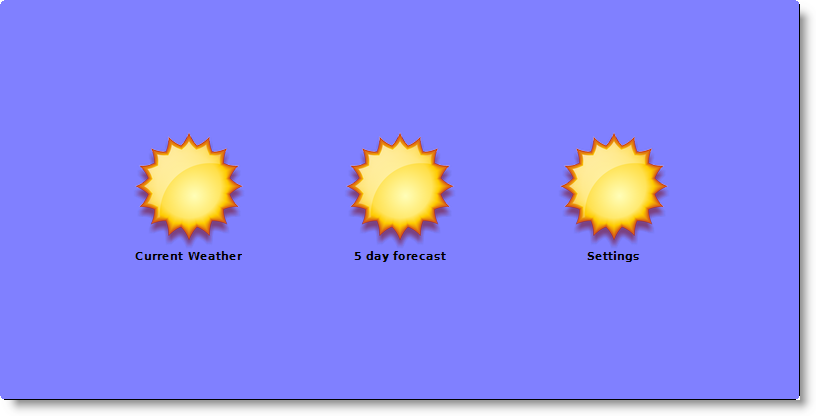
Since this is a mock-up it is by no means the final product and does not have to look sexy or polished. As you can see below we are using the same icon for the buttons and some default font as place holders for the time being.
The initial flow of the user interface application is as follows: There is a main menu or landing screen that lists all the options for the user to choose from. For this application we will have three choices. There will be a button for the current weather, one for a 5 day forecast and last but not least, a settings button.
In Part 3 we talked about how to setup Storyboard IO events so that external information can communicate with our weather station application. Now we need to define data variables to store that information coming to our weather station application.
Application:
- local_current_temperature (degrees Celsius)
- local_current_pressure (kilopascals)
- local_current_windspeed (knots)
- local_current_winddir (degrees 0-360)
- remote_location_name
- remote_location_temperature
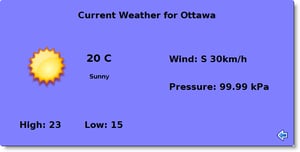
Now when we click our current weather menu button on the main screen, the application will display a screen with the current weather of our selected remote location. All the text you see on this screen are individuals text controls with the above data variables associated with them. For example the temperature text control called temp_txt is assigned data variable local_current_temperature. When our weather station application gets updated information from the temperature device, this text control will be dynamically updated.
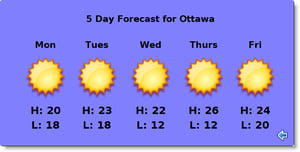
A long term goal would be to eventually provide a 5 or 7 day forecast with regards to the local temperature and pressure changes. Additional variables will be used to maintain this information. Even though decisions are still being made on the final options for the weather station application, with Storyboard Designer, you can very quickly add or remove addition screens or rapidly bind new data variables to text controls.
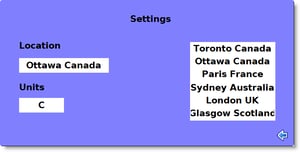
Here we have the Settings screen for the end user to choose their preferred location. Once selected this information is sent to the remote feed monitor by the defined Storyboard IO location_configure event previously defined in Part 3.
So there you have it. Even though decisions on hardware and operating system are not fully solidified, engineers can start prototyping extremely quickly with Storyboard Designer. Mock-ups can be created with events and data variables tied to controls. Default images and fonts can be setup as place holders while Graphic Designers are working in parallel with engineers. Different screens and transitions can be activated or hidden quickly in Storyboard designer to give decision makers various options before they give final product sign off.
Stay tuned for Part 5 in this Weather Station series were we talk about creating a test environment using command line scripts and external processes that would initialize and interact with the application.
-JamieV
.png?width=180&height=67&name=Crank-AMETEK-HZ-Rev%20(4).png)

